
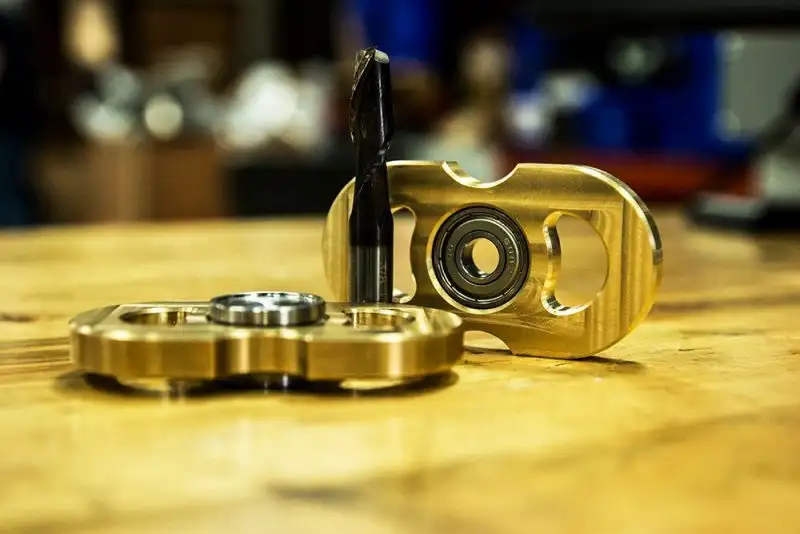
CNC Fidget Spinner

Fidget spinners are the latest craze. Here’s how to make a simple one out of brass that looks fancy and feels great in your hand, created by Caleb Kraft, one of the Tormach Brand Ambassadors.
I’m a beginner, so this is a beginner project. The shape was designed to have some pretty curves but retain enough side material to clamp into the vise without custom work holding.
Note that the chamfers are not modelled. This model is extremely simple and basic so that it would work for 3d printing, laser cutting, and machining.
BILL OF MATERIALS
- 608Z Bearing
- Brass stock measuring at least 40 mm x 75 mm x 10 mm
TOOLS
- Tormach PCNC 770, or similar milling machine
- 3/8" 2-Flute End Mill
- 1/8" 2-Flute End Mill
- 1/4" 90° Dill Mill
STEP BY STEP
Concept and CAD in Fusion 360<
The idea was simple. I need something that I can hold between my forefinger and thumb, and that will fit without hitting my hand if I give it a spin. I’ve seen lots of designs out there, so I just started drawing. I like curves and brass, so that’s the direction I went. However, I intentionally retained flat sides so I wouldn’t have to worry about custom fixturing.
- Draw the curves of the outline, bearing hole, and visual holes (bearing is 22mm wide)
- Push/pull to be the depth of a bearing (6mm).
- And the CAD is done! This file could be used for 3D printing, laser cutting, or milling.
- On to the CAM.
CAM in Fusion 360
I decided to use a solid as my stock material in my setups. Choose whatever method you’re most familiar with. This could be made easier by ignoring the chamfer pass on top and bottom.
Top:
- I started by facing the part with a 3/8" flat 2-flute end mill.
- Then I did the outside shape and center hole with the same 3/8" flat 2-flute end mill, leaving 0.050" stock (3D adaptive).
- I followed that with a 2D contour (same end mill) with zero stock left and smoothing enabled to get a nice finish.
- Switching to a 1/8" 2-flute end mill, I did a 3D adaptive to clear out the smaller holes, leaving 0.050" stock.
- Keeping the 1/8" 2-flute end mill, I did a 2D contour with smoothing on and zero stock left to get a good finish.
- I ran a 2D contour with a 1/8" ball nose in the chamfer setting to add a chamfer on the top.
- The Tormach video and file shows chamfering being done with a 1/4" drill mill, in the chamfer setting.
Flip your part and finish the bottom
- Using the 3/8" 2-flute, I faced the bottom.
- Then I switched to the 1/8" ball nose to chamfer the contours, basically breaking the edges.
- Tormach video and file uses the 1/4" drill mill for the chamfer here as well.
Finishing your fidget spinner
- Buy a 608Z bearing, which is a pretty standard size.
- Press fit the bearing with an arbor press. If you don't have an arbor press, this can be done with a rubber hammer, but the process may be more challenging and you run the risk of damaging both your part and your bearing.