
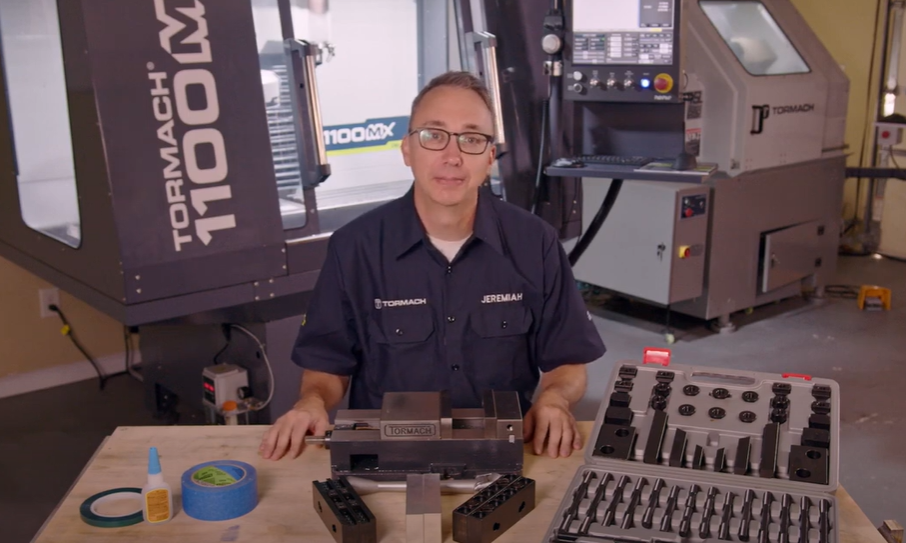
In this week’s edition of the Tormach Garage Series, get ready to dive into the critical aspects of work holding and setting work offsets on a Tormach CNC mill. Jeremiah Daws (Maker / Machinist), showcases various work holding options, ensuring that each work piece is securely in place during machining.
The Tormach Garage Series is a weekly series of instructional videos for those just starting to learn the basics of CNC machining. You can click the links below to watch the first three episodes of our series.
Previous Tormach Garage Series Videos
- Part 1: Getting Started with Your Tormach CNC Mill: A Beginner’s Guide
- Part 2: Basics Of Starting Up Your Tormach CNC Mill
- Part 3: Navigating the PathPilot® Interface on Your Tormach CNC Mill
Starting with the versatile vise, Jeremiah highlights its significance for beginners, emphasizing its adaptability with different types of jaws. From traditional hardened jaws to talon grip jaws for thin parts, the vise proves to be a reliable, go-to solution. The step-by-step instructions for setting up a vise, including crucial steps like stoning to eliminate burrs, ensure viewers are well-prepared for their machining endeavors.
For larger or uniquely shaped parts, strap clamps provide a reliable alternative. Viewers are introduced to a kit with various size studs and clamps, demonstrating their effectiveness in holding oversized work pieces securely in place. The super glue and tape method offers another option for work holding, especially for thin parts.
Jeremiah shares pro tips, including the use of sacrificial plates to protect the mill table from inadvertent machining. One particularly popular solution is the addition of a fixture plate directly onto the mill table. Jeremiah recommends a specific fixture plate from Saunders Machine Works, tailored for Tormach mills. Fixture plates offer increased flexibility, with dowel holes for quick referencing and multiple holes for versatile setups.
For the first part, we keep it simple by using the vise. You’ll see a demonstration of the proper setup, utilizing parallels to ensure the work piece protrudes enough from the vise. Tightening down the vise and setting the stock is very important as it ensures a secure hold before moving on.
Setting work coordinates is the next crucial step, informing the machine of the stock's position relative to the spindle nose. The passive probe is a time-saving tool that integrates seamlessly with PathPilot®. Viewers will be walked through the process, emphasizing the importance of calibrating the probe first.
By following these precise instructions, you can successfully complete the setup, ensuring your workpiece is securely held in the vise, and the coordinates are accurately set. With work holding and work offsets mastered, you are now poised to move on to the next critical step - setting up tools. This topic will be explored in next week’s video.